



Clear framework to start
Please use a simple decision framework that matches the tests you will run: define purpose, check specifications, confirm support, and compare lifecycle cost. If your laboratory performs tensile, hardness, or environmental tests, start by listing the required test methods and then see how each candidate matches those needs. Many teams benefit from hands-on trials with their material testing equipment before purchase to confirm fit and workflow.
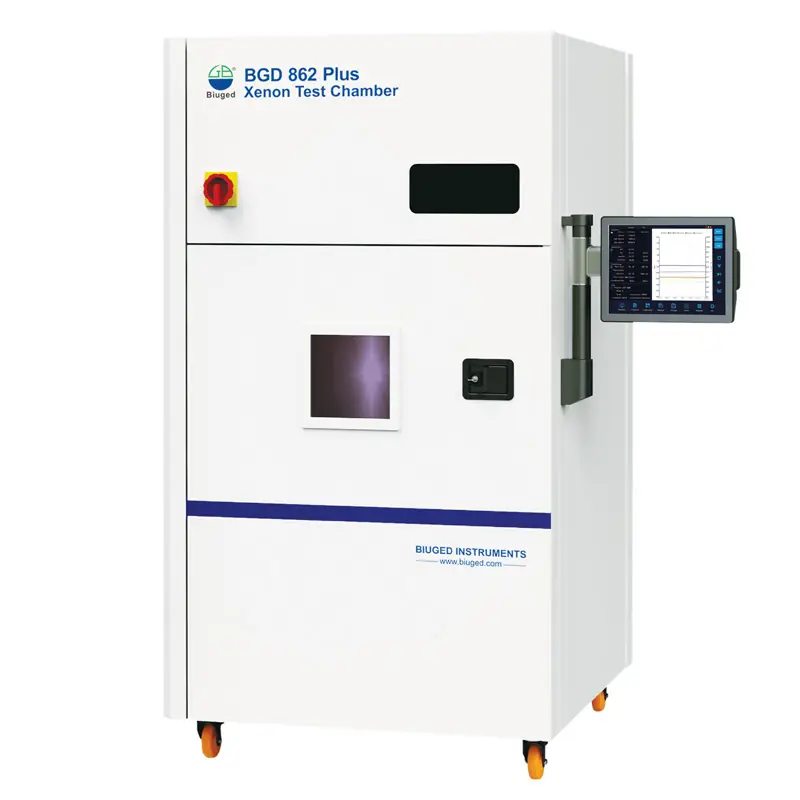
Step 1 — Purpose and test coverage
Define exactly what measurements you must produce and why. Ask: which standards must results satisfy, what sample types arrive most often, and what throughput is needed per shift. Be strict: choosing an instrument for one-off features will cost more over time than matching core test types. Please document required tolerances and the specific standards (for example, ASTM or ISO method references) that your reports must cite.

Step 2 — Technical fit and verification
Compare range, resolution, repeatability, and stated uncertainty against your documented tolerances. Demand verification data: calibration certificates, traceability chains, and independent validation reports. Watch for marketing claims that omit repeatability or environmental limits; those hidden limits often cause problems on the lab floor. Validate software compatibility with your LIMS and ask for sample data exports before you commit.
Step 3 — Calibration, service, and local support
Confirm calibration intervals, who performs calibrations, and where spare parts come from. Choose a supplier that offers on-site support or certified local agents, because long wait times for service lead to lost throughput. Consider training packages for operators and written maintenance schedules; a modest support contract often reduces downtime more than buying a cheaper instrument.
Step 4 — Total cost of ownership and lifecycle planning
Itemize initial cost, consumables, calibration fees, spare parts, and expected depreciation. Estimate uptime impact from planned maintenance. If your process requires continuous operation, prefer redundant capacity or faster-repair agreements. A lower sticker price can hide expensive consumables or frequent recalibrations that increase lifetime cost.
Alternatives and common mistakes
Compare compact bench models with modular systems: bench units save space but may limit future expansion; modular platforms cost more initially but adapt to new tests. Avoid three common mistakes: buying equipment based only on brochure specs, skipping operator trials, and neglecting supplier references. A short pilot run with real samples often reveals the most telling issues.
Experience, standards, and supplier evaluation
Choose suppliers who can support lab accreditation goals and who provide traceable calibration. Many labs aiming for ISO/IEC 17025 accreditation require documented calibration and maintenance histories, so confirm the supplier’s calibration chain and references. For practical assurance, request references from similar facilities and, when possible, visit a site where the equipment is in regular use; reputable material testing equipment supplier partners will facilitate that. This approach shows experience and builds trust without relying only on marketing language.
Concluding guidance
Follow the four checkpoints—purpose, technical fit, support, and lifecycle cost—and use trials and references to verify claims. A supplier that balances clear specifications, reliable calibration, and practical local support will reduce risk and keep results consistent, an approach well represented by BIUGED.