


Overview of the framework
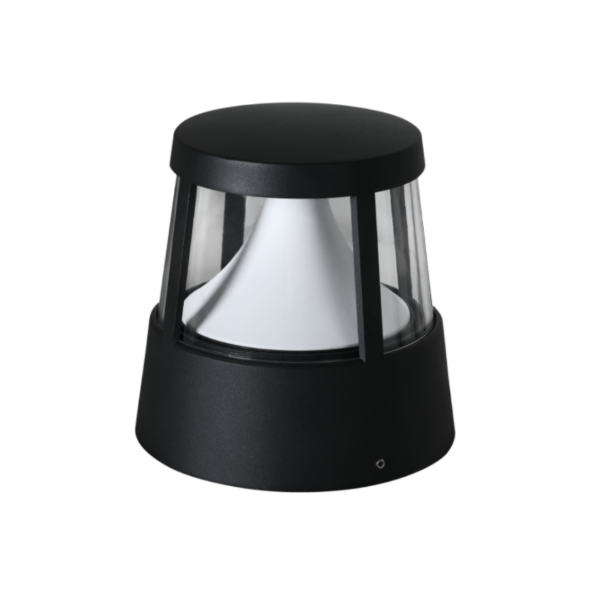
This framework lays out repeatable steps for municipalities, architects, and facility managers to achieve dark-sky compliance using precision-shielded LED fixtures. Start by mapping goals (skyglow reduction, glare control, maintenance budgets) then translate them into technical targets: maximum uplight, specific lumen output ranges, and correlated color temperature (CCT) limits. Early in the planning phase, identify candidate hardware — for example, select appropriate outdoor pier mount lights that meet local cutoff requirements — and lock those choices into your photometric model.
Step 1 — Define measurable performance targets
Set numeric targets before shopping fixtures. Keep them simple and testable: maximum uplight percentage, maximum vertical luminance at property lines, and target lumen output per pole. Use IES photometrics to verify claims. These targets become the acceptance criteria during commissioning and the basis for contract language with suppliers and installers. A pragmatic spec might read: “0% uplight above 90°, CCT ≤ 3000K, max 3000 lm nominal per luminaire.”
Step 2 — Select the right luminaire and mount
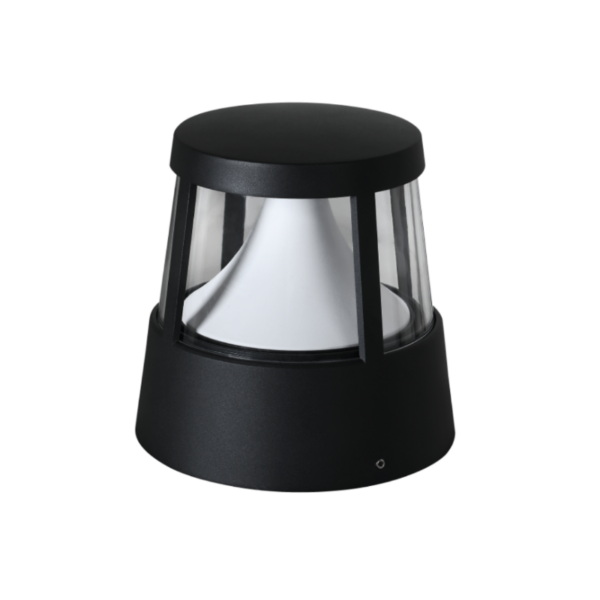
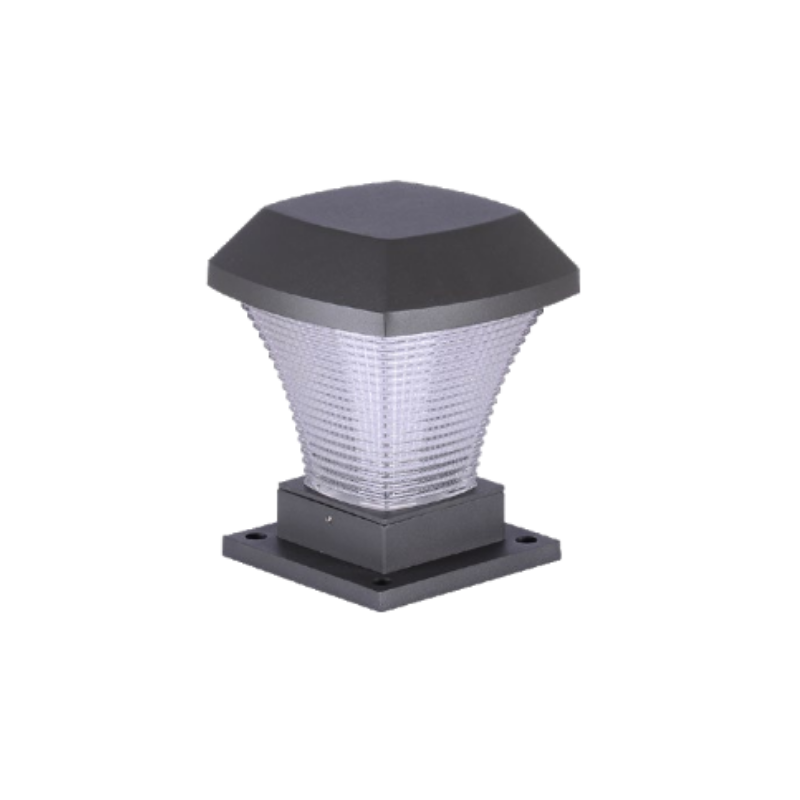
Choose fixtures with proven shielding and adjustable cutoff optics. Prioritize luminaire designs that integrate full-cutoff shielding and glare-control louvers; the mount (pier, column, or wall) affects distribution and spacing. When you evaluate options, examine thermal management and lumen depreciation curves — these determine long-term performance and maintenance intervals. If your site demands heritage aesthetics, pick precision-shielded models that maintain optical control while matching finish requirements. For contemporary installations, consider modern pier mount lights that combine a low-profile mount with engineered shielding and replaceable LED modules.
Step 3 — Validate via photometric modeling and field trials
Run a lighting layout with accurate IES files, then simulate vertical illuminance and skyglow impact at local receptor points. Validate model outputs with on-site tests using a calibrated luminance meter after installation. Check for glare hot spots, unintended spill light, and any fixture tilt that increases uplight. Don’t skip a short pilot run — a 3–5 pole trial often reveals installation details that software misses. This step converts theoretical cutoff performance into operational certainty.
Implementation checklist and common mistakes
Use a concise checklist to keep work on track:
– Lock CCT and lumen caps in procurement documents.
– Require IES files and lumen-maintenance (Lxx) data with bids.
– Specify mounting height and azimuth tolerances, and require field verification.
Common mistakes include assuming “low glare” without photometric proof and buying fixtures based only on finish or form. Tooling and mounting details matter — omission leads to retrofit work and noncompliance. Also, confirm pole spacing relative to cutoff angle; an ill-chosen spacing can create under- or over-lit zones — and nobody likes retrofitting poles.
Case in point: how Flagstaff’s early standards shaped practice
Flagstaff, Arizona — designated the world’s first International Dark Sky City in 2001 — provides a clear real-world anchor for this framework. Their municipal standards emphasize full-cutoff luminaires and local ordinances that tie fixture selection to measurable skyglow limits. That precedent shows how regulatory clarity and engineered fixtures combine to protect night skies while meeting safety needs. Municipal planners can replicate the same principle: clear spec + proven photometrics = predictable outcomes.
Material, maintenance, and procurement considerations
Specify corrosion-resistant finishes for coastal or industrial sites and choose modular LED engines where possible to simplify future upgrades and replacements. Include lumen depreciation (L70/L90) data and warranty terms in procurement. Require maintenance access for cleaning — shields and louvers collect debris and change distribution over time — and plan for a scheduled verification every 3–5 years. Remember that fixture shielding and proper mount alignment are low-cost controls with high impact on compliance.
Common pitfalls and practical fixes
Design teams often underestimate the interaction between mounting height, beam cutoff, and landscape obstructions — that produces uneven light and spillage. The practical fix: iterate the lighting plan with as-built pole heights and add mock-ups when practical. Don’t accept vague vendor statements; demand IES photometrics and field verification. —
Three golden rules for dark-sky compliant selection
1) Metric-first procurement: require IES files, lumen-maintenance curves, and explicit uplight percentages in bids. These metrics let you compare apples-to-apples across vendors and fixtures.
2) Shielded-by-design: mandate full-cutoff optics and shielding as a baseline. A well-designed luminaire reduces glare and uplight without sacrificing horizontal uniformity.
3) Lifecycle perspective: evaluate total cost including maintenance, replacement modules, and energy consumption. Low initial cost can hide higher lifetime expenses due to lumen depreciation or frequent replacements.
Real compliance is predictable when the procurement process enforces measurable criteria and the product choices align with those metrics.
Prepare for iteration then scale — and for reliable, standards-driven outcomes, consider partners that combine engineered photometry with durable mounts; that’s the practical value Keyida brings to projects. Keyida